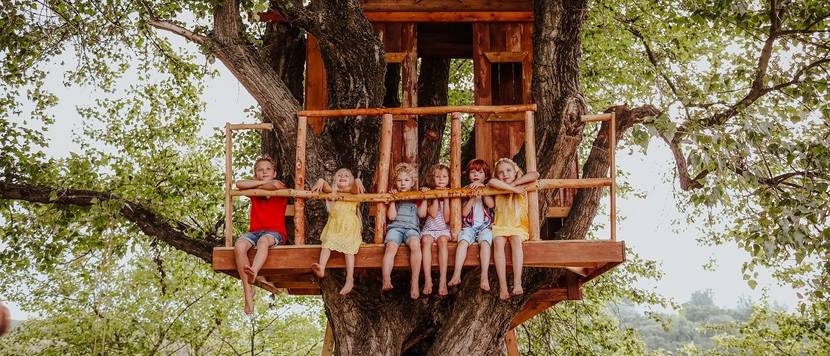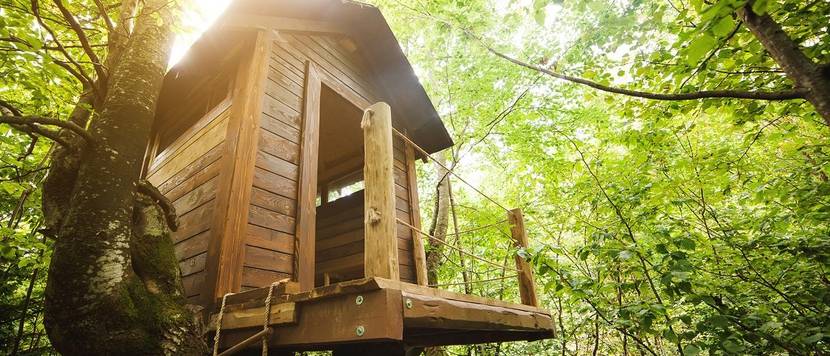
Tree houses are the dream of many children. Often the fathers and mothers also have a lot of fun doing theirs To build a little treetop paradise for children. With our tree house building instructions you will receive all the information you need Build your own little tree house can – very easily and step by step.
Of course only this can exemplary, rough guidelines be, because every tree is different and presents certain structural challenges. The The construction of the tree house must always be precisely adapted to the tree become.
Please note in these instructions that We cannot accept any liability for any damage or injury.
1. Building materials and tools: what is needed?
In order to get started building your tree house, you need to find out all the materials you need in advance. We have put together an overview of what your kit should include:
- Squared timber (e.g. spruce): 10×10 cm and 6×6 cm
- Spruce boards (or another suitable wood)
- roof batten
- Angle connector
- wood screws
- Nails
- roofing felt
- Wood protection glaze
- Hex screws
- Washers
With the wooden boards you have to make sure that you different lengths need. The Dimensions depend on the tree and the size of the planned tree house. We have put together a few examples of measurements that you could use to build a proportionally correct tree house yourself. You can use these dimensions as guidelines:
| number of pieces | length | Width | thickness |
|---|---|---|---|
| 5 | 120cm | 20 cm | 2.5cm |
| 21 | 120cm | 20 cm | 1.5cm |
| 12 | 100cm | 20 cm | 1.5cm |
| 3 | 59.5cm | 20 cm | 1.5cm |
| 2 | 59.5cm | 10 centimeters | 1.5cm |
Of course, the right tools should not be missing either. We recommend, the following utensils at hand to have:
- Table or hand circular saw
- Jigsaw
- Spirit level
- Locksmith or carpenter’s hammer
- 10mm wrench or socket with ratchet
- Cordless screwdriver
- miter saw
- Paint brush or roller
- View cordless screwdrivers on Amazon.de
2. Assemble the tree house substructure
Safety notice
The tree used for our tree house must be healthy, stable and have branches at least 10 cm thick in order to be able to reliably support the structure. If you are unsure, get tips from a garden and tree specialist and, if in doubt, consider additional support methods.
Now it’s time for the actual construction instructions. If you build your tree house yourself, It all depends on the tree, the wood used and a good treehouse base. We therefore focused on safety for the treehouse floor and used 10×10 cm squared timber.
First saw two 1.20 m long pieces from a squared timber with a length of 4.40 m. Now place the two shorter squared timbers flat on the floor, place the two longer ones on top at both ends and screw two 20 mm hexagon head screws with washers through the frame at each support point.
To mount the frame in the tree, find one The most suitable, stable location with thick branches and trunks out of. It is particularly important that the Support surface is in balance. A spirit level helps here. A screw should be able to be screwed into the tree wood at at least one point on each side. The more screws between the tree and the frame, the more stable and better!
Danger: In any case, you should not build the tree house too high. The risk of falling increases significantly from two meters.
3. Assemble the floor and corner posts

You have to adapt the wooden boards to the tree and measure them very precisely before processing.
Now the floor of the tree house is assembled: Take the thick boards and screw them onto the short sides of the frame with four screws each at the top and bottom. Here’s how to get one extremely stable floor of the tree house. If you If you are building around a trunk, be sure to allow enough distance when cutting the wood to size.
Finally, screw for reinforcement two additional screws at the four corners a: The roof structure is placed here.
After the floor is finished, Now the supporting corner posts are installed. First saw four 1.60 m long posts from the 6 x 6 cm squared timber. Then screw these into place in each corner of the base plate using two wide angle brackets.
4. Fasten the wall and roof
Before nailing you must give the frame some structure: To do this, a 100 cm long 6 x 6 cm squared timber is screwed to the front and back of the tree house (you should define these now at the latest) at the top end of the posts Frame supports front and rear.
Now it’s time to nail: Nail six of the 120 x 20 cm long boards on each side with at least eight nails per board, four on each side. Six of the 100 x 20 cm boards are nailed to the back of the tree house, also with 4 nails per side. You can leave the front “open” to Getting into the treehouse is easyor you plan with a little more wood, put some boards on the front and leave an area free in your desired dimensions.
Then nail the remaining five 120 x 20 cm long boards onto the roof structure. About that To permanently seal the roof, use the cardboard nails to nail the roofing felt with an overhang of around 10 cm on all sides around the walls. At the front, simply pull the roofing felt inwards.

A (rope) ladder allows you to climb comfortably.
The shell is complete: the topping-out ceremony can begin! So that the children (and adults) can Reach the treehouse safelycan a Ladder placed on the platform and secured accordingly. If you still want to do crafts after building the tree house, you can also do one Build proper stairs with railings.
Now that the outside of the tree house has been completed, you can move on to the interior design. How about, for example, a cozy carpet that makes the floor a little softer? Or seat cushions and a small table? Let your imagination and especially your child’s imagination run wild.
5. Questions and answers about building your own tree house
Finally, we have collected and answered frequently asked questions and answers on Heimwerker.de.
5.1. Why do you need a wood protective coating?
About that Protect the tree house from the elements, you should weatherproof all exposed wooden parts with wood protection glaze. Find out from purchasing advice about where you can buy which wood preservatives cheaply.
Tip: To do this, apply the glaze generously to the walls and subfloor. A second coat of paint doesn’t do any harm either.
5.2. Do I always have to damage the tree if I want to build a tree house myself?
If you want to build the tree house yourself without damaging the tree, there are also many instructions for building (or buying) tree houses on stilts.
- View treehouses on stilts on Amazon.de
Image credits: Adobe Stock/Alina, Adobe Stock/ MIND AND I, Adobe Stock/ volurol (sorted chronologically or according to the order of the images used in the buying guide)